

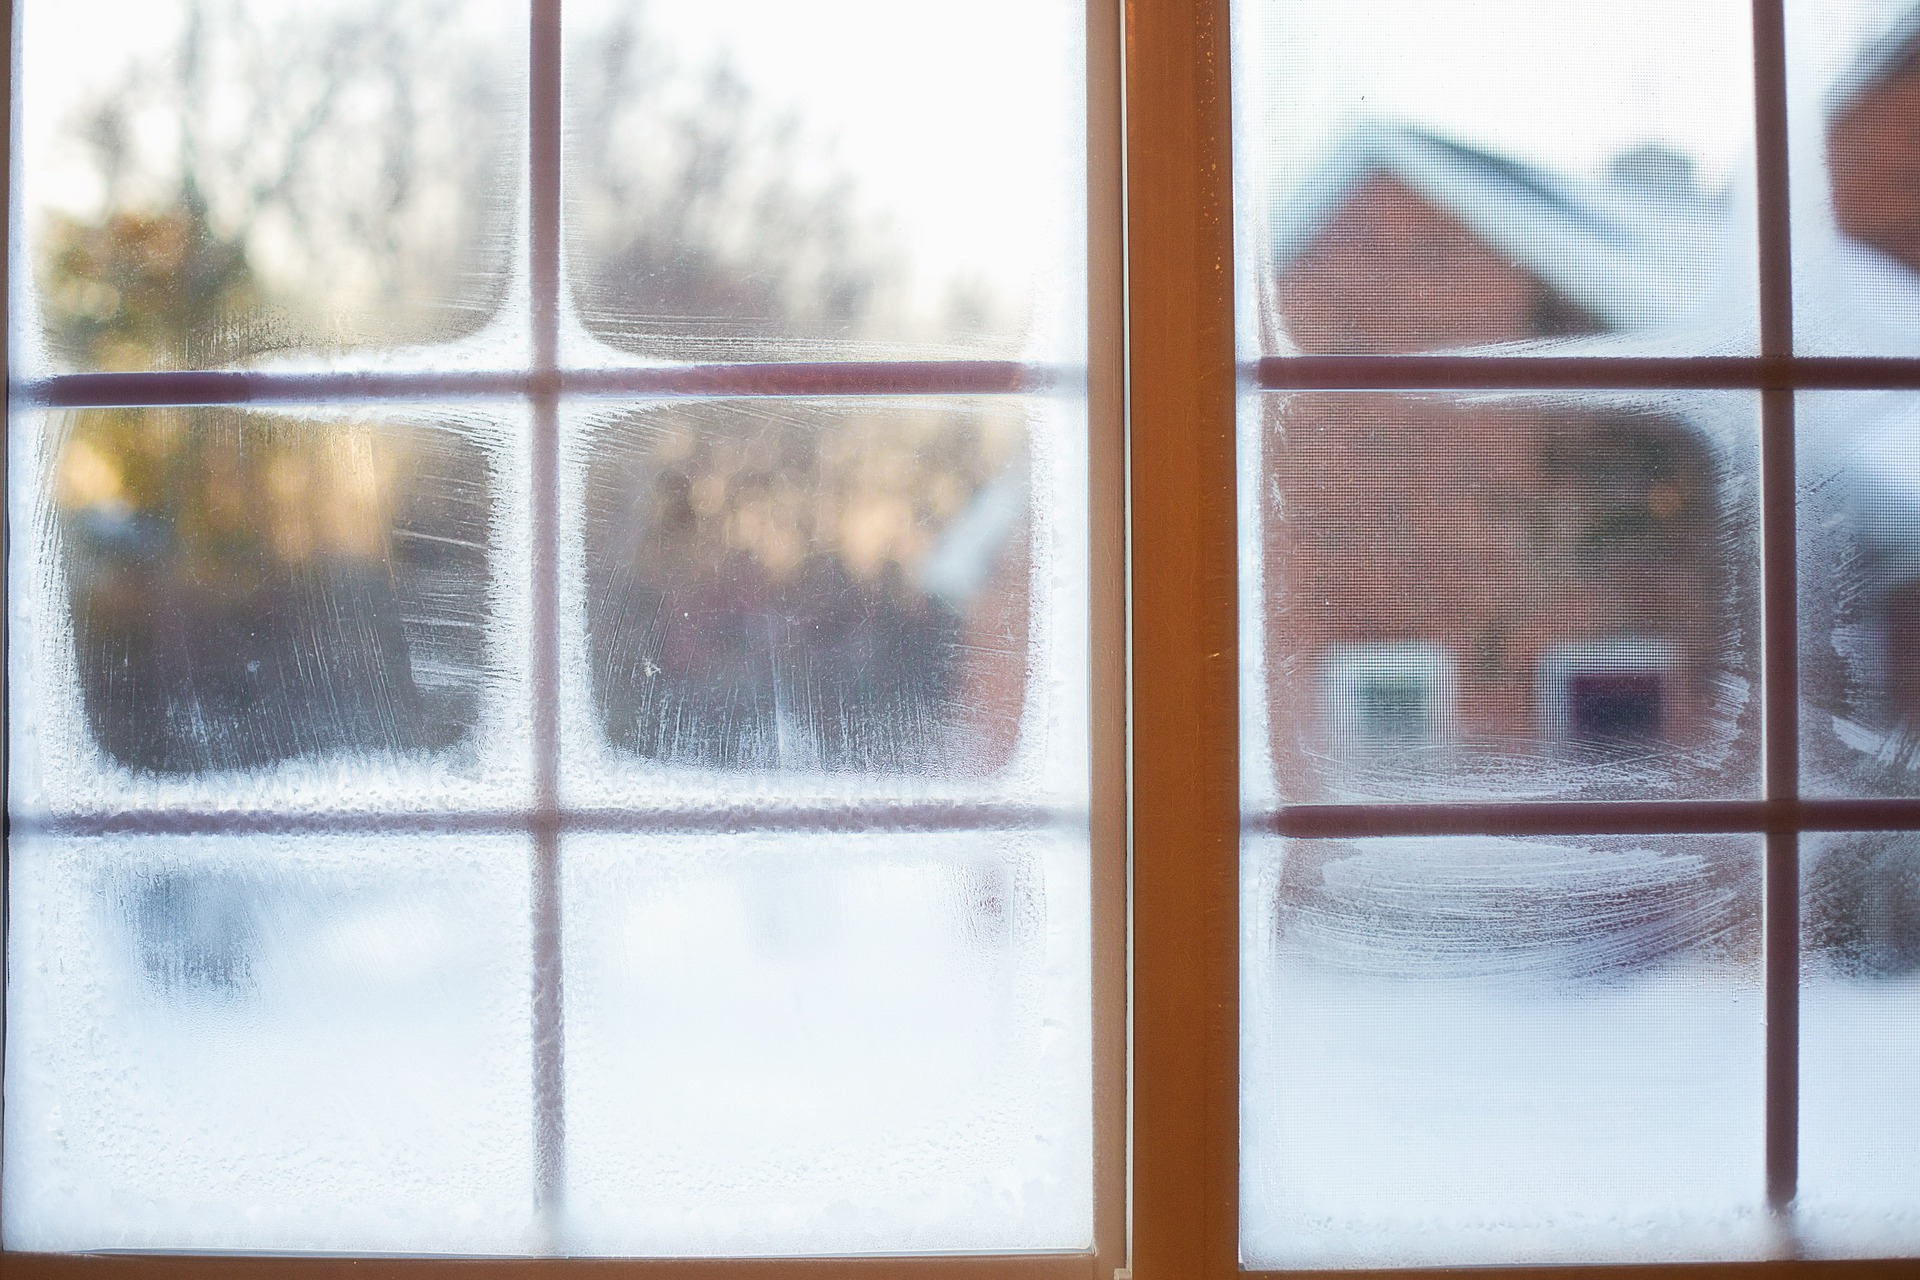
If you’re not taking the necessary steps to winterize your outdoor faucets and sprinklers prior to the cold weather months, chances are it’s going to cost you when spring rolls around. Here’s why: If water remains trapped in any pipes, it’s going to freeze and expand when temperatures drop below freezing.
When this occurs, it’s likely to lead to busted sprinkler lines, pipes and pumps – all of which can not only amount to costly, invasive repairs, but that also have the potential to create a water damage situation inside your home. Here’s a step-by-step look at how to properly winterize your faucets and sprinklers.
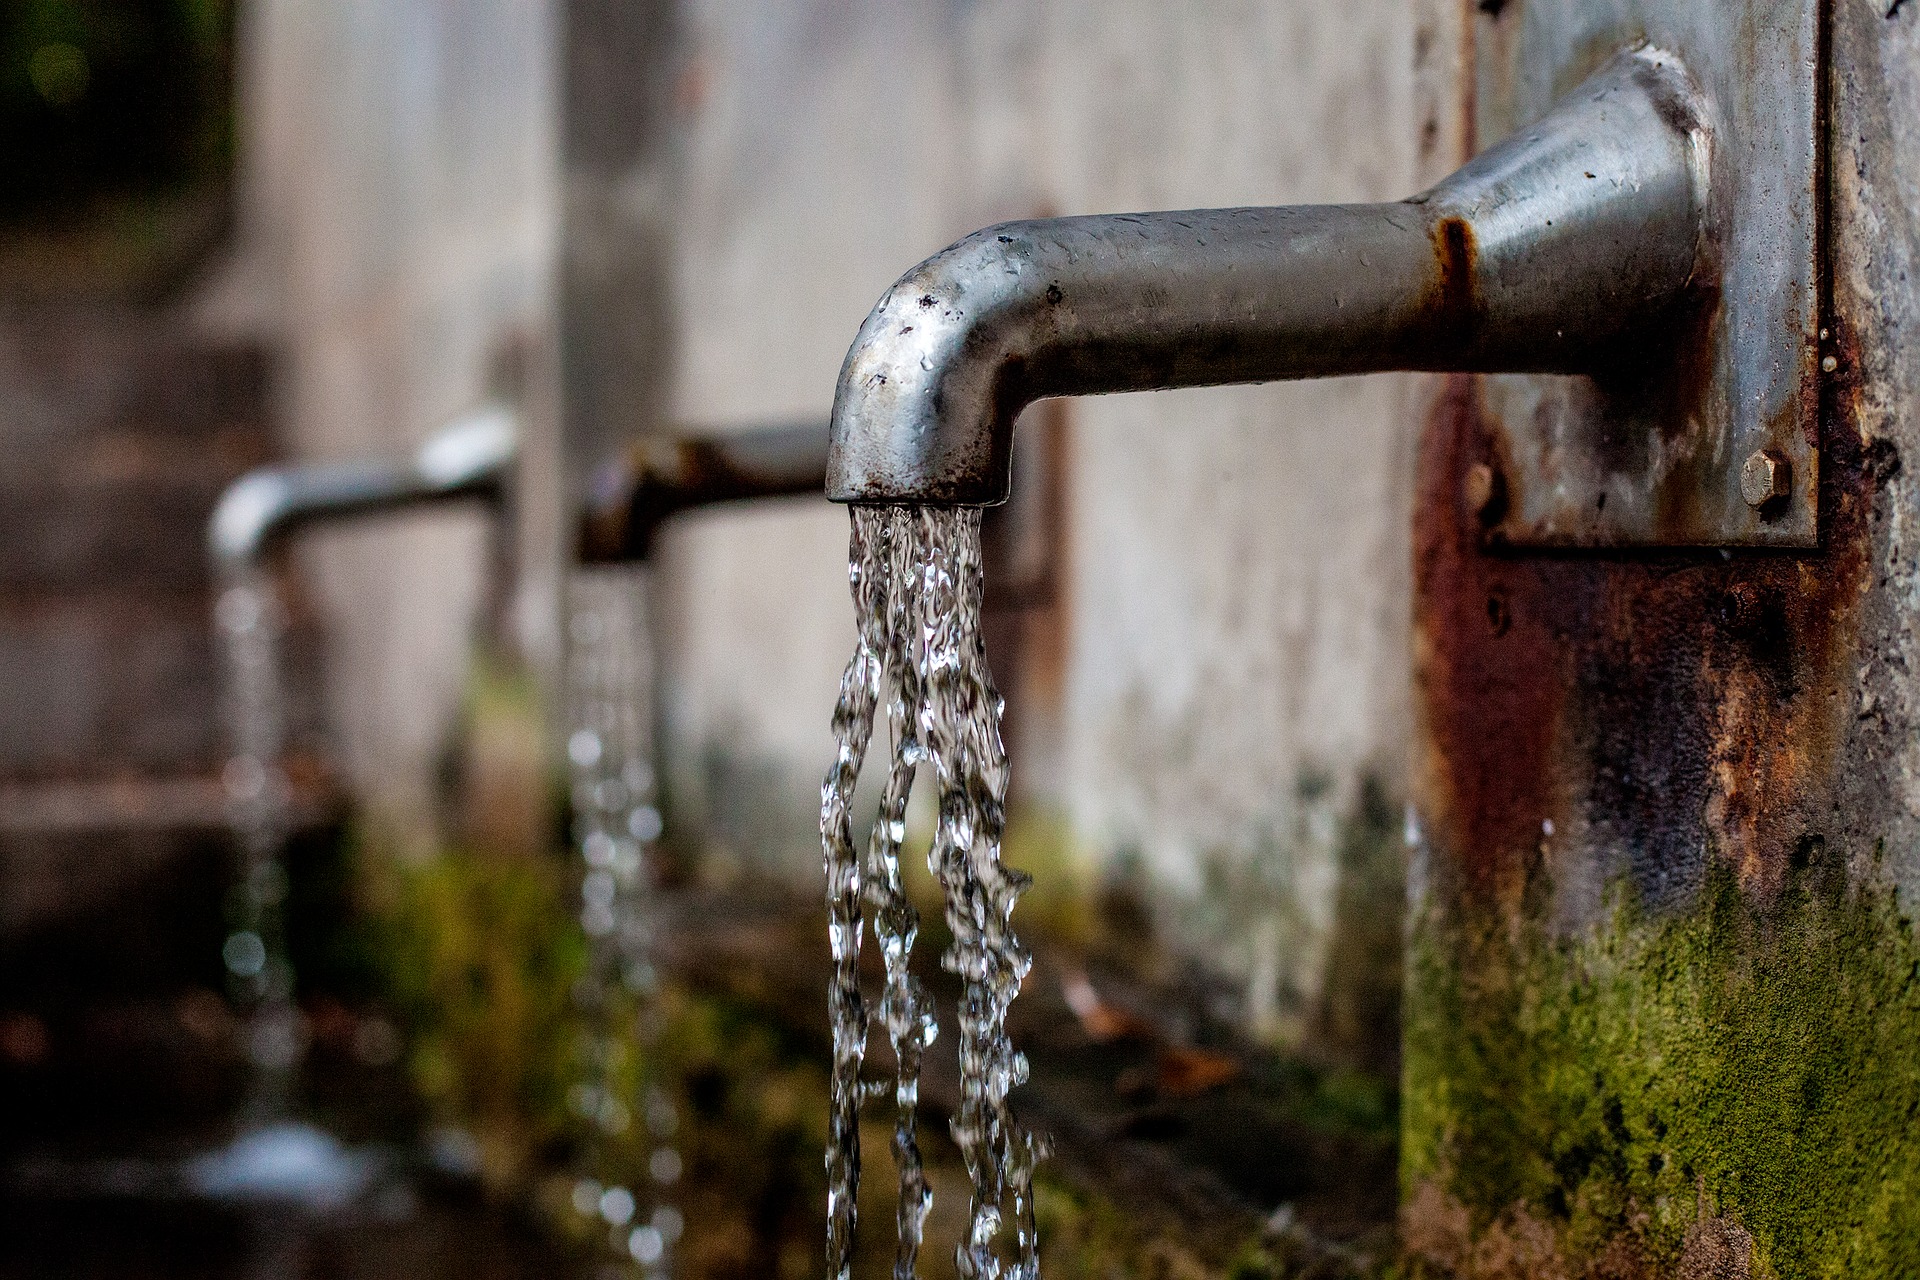
Winterizing Outdoor Faucets
- Whether you’re dealing with an outdoor spigot or outdoor sink, the first thing you need to do is shut off the water source to it. This is often completed by turning a nozzle or lever in the basement or crawlspace. Just be sure to track the right pipe that leads to the outside faucet.
- Next, you want to open the faucet so that the water can adequately drain out of it. This eliminates any water within the plumbing, thereby ensuring that water won’t have the chance to freeze, expand and lead to damage.
- When it comes to outdoor sink faucets, we’d recommend pouring a small amount of antifreeze down the drain just in case there’s still some water in there hanging around. It’s best to be safe than sorry.
Winterizing Your Sprinklers
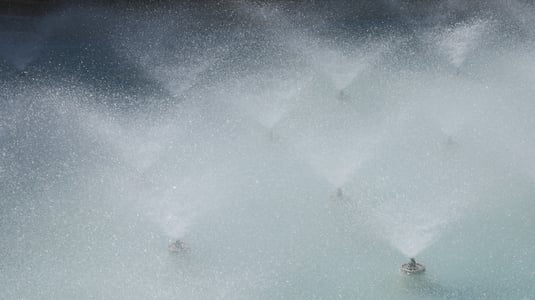
Winterizing, or blowing out, a sprinkler system is a bit more difficult than winterizing outdoor faucets. Many homeowners spare themselves from any hassle and pay a service company to do it for them. However, with an air compressor, it’s a fairly manageable DIY job – and you can save about $50 by doing it yourself too. Here’s a look at how to do it:
- Turn off the water to the sprinkler system and open the backflow preventer valves.
- Find the blow-out port, remove its plug and connect the air hose to the adapter. You’ll then need to connect the other end of the air hose to the air compressor.
- If your sprinkler system consists of PVC piping, set the compressor to about 80 psi. If the system consists of flexible tubing, set it to about 50 psi.
- Next, you’ll have to go zone-by-zone with your sprinkler system to adequately remove water from the system. Find the control box and turn on the first zone. Then power the air compressor on. You should see the sprinkler heads spewing out excess water left in the system. Let the air compressor run until no more water is evacuating, then move onto the next zone. Repeat this step until all the zones have been properly blown out. Be sure not to let the compressor run for long after all water is out of the zone, as doing so could lead to system damage. (Note: You may choose to complete Step 4 with a partner. This way, you can monitor the zones to ensure water has evacuated and your partner can man the control box to switch zones when instructed, or vice versa.)
- After all the zones have been adequately blown out, disconnect the compressor from the blow-out-port and replace its plug.


Comments